
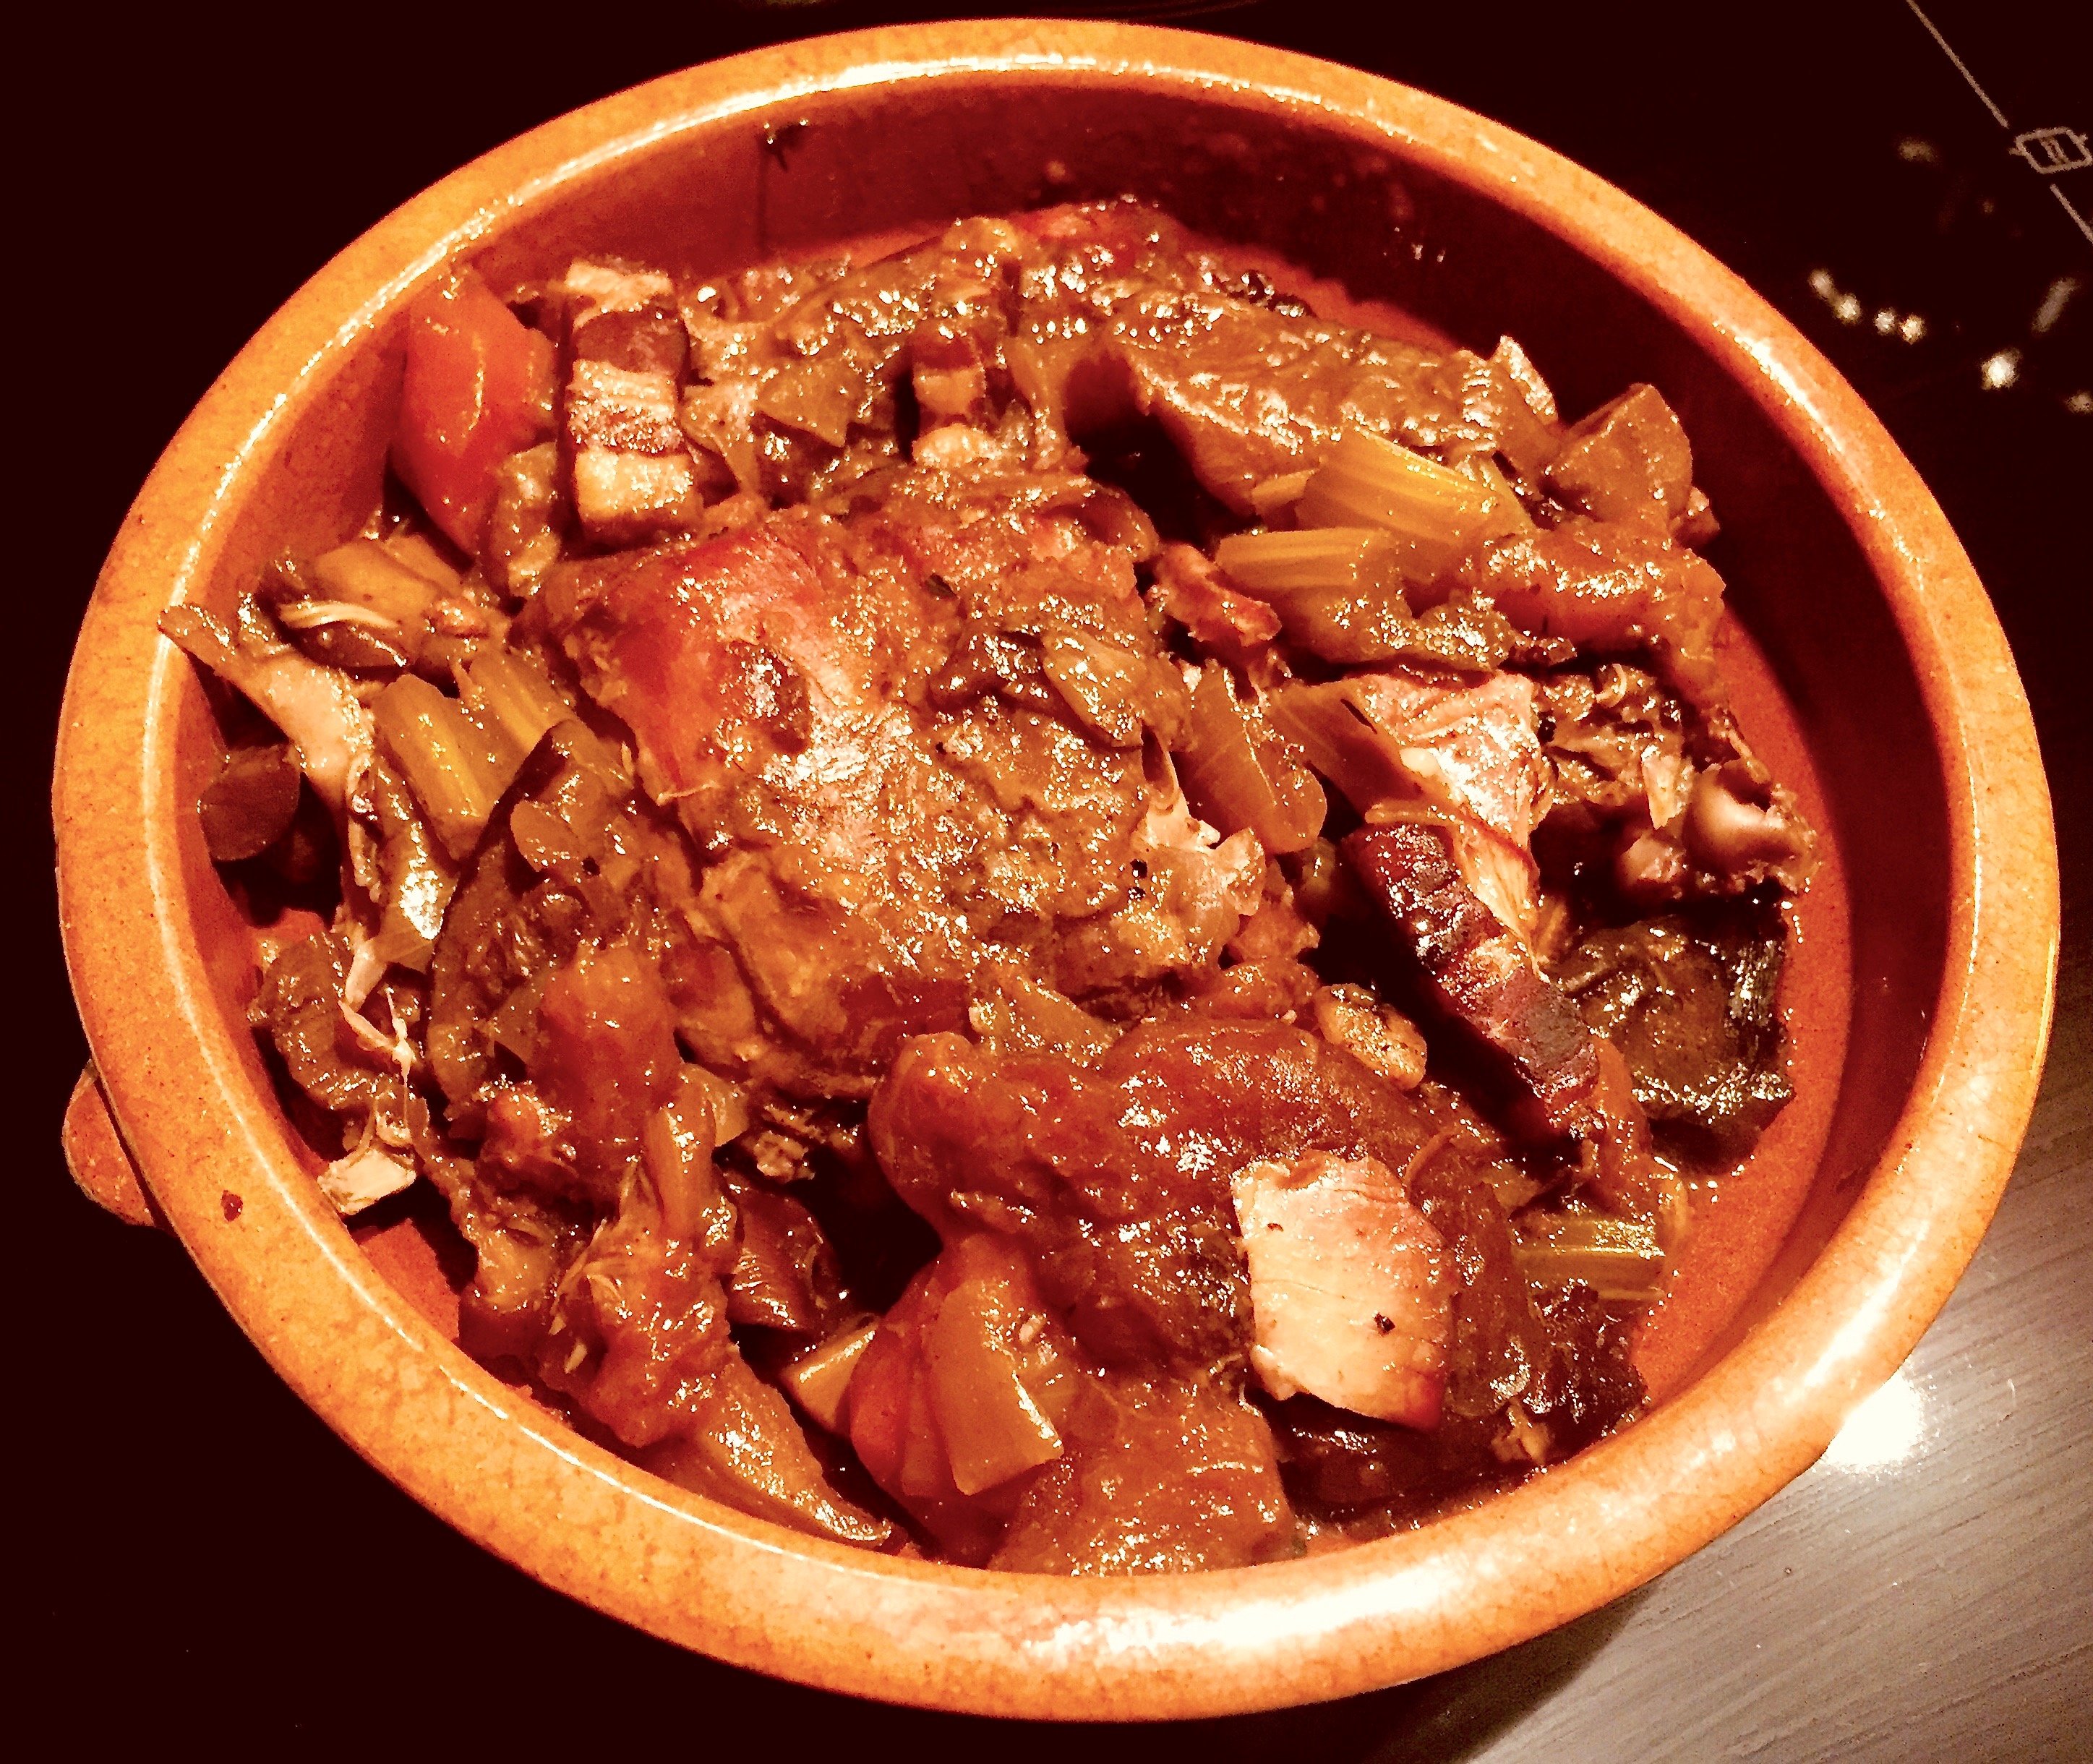
Ragù di Osso di Capretto (Kid Goat Bone Ragù)
It We need to start with two small confessions. Firstly, we have not found an authentic Italian recipe for this dish (yet)! And secondly, we have taken longer to name the dish than it did to cook and eat it!! Lets start with how we came to make the dish and you will get some idea why the naming took some time!!
After a lot of advice from Meg at Moat Goats we bought a half Goat Kid from them in early 2023. We challenged ourselves to cook each of the pieces that arrived without venturing into any form of curried goat (this time at least). We have already cooked a (more…)


 Once the EGG was up to temperature we added the fresh mushrooms to a dry sauté pan and began to toast them until they took on a little colour and then finished them in a little olive oil and set them to oneside for later. We did the same with the dehydrated mushrooms and set those aside but kept them separate. Save the mushroom liquor.
 We added the tomato puree to the partially cooked vegetables. They were then tumbled so that all vegetables were coated with the puree. This was then left to cook for another 5 minutes or so. Once at temperature the tomato puree undergoes a Maillard reaction (the same as meat does when roasted) adding to the overall intensity of the tastes.
  The browned venison was then added followed by
 By this time the steady temperature of the BGE was at around 140C and so the Bourguignon could be left to cook for the next hour. We could then see how the meat and the vegetables were cooking. It needs to be long enough for the venison to be soft and tender whilst the vegetables still have a good and reasonably firm texture. We left it cooking for another 30 minutes, adjusted the seasoning and added the rest of the mushrooms the had been previously set aside.
 By this time the sauce had darkened and thickened but we still finished it by thickening with a very small amount of cornflour (about 1tsp).


 Traditionally the leek sauce would be started off by frying some pancetta/lardons in a pan and then adding the leeks. In the spirit of ‘Avanzi’ we used some sausage meat we had in the fridge after making stuffing balls to have with the turkey the day before – but equally some of those stuffing balls broken up would have done just as well. The first stage was cooked over direct heat. Once in the pan and coloured, 500g of chopped leeks were added with some thyme leaves (fresh or dried will work) and some olive oil. These were sautéed at a medium heat for a few minutes. The heat was then turned down by adding the platesetter and converting to indirect cooking. The leek mix was seasoned and covered to cook for around 30 minutes. We checked and stirred the dish every 5-10 mins to make sure nothing was sticking or taking on too much colour.
 This whole process reduces the bulk of the leeks by about two thirds. At this point we added the turkey torn into chunks, and some cooked chestnuts left over from the roast turkey dish the night before (fresh vac-pac chestnuts would be fine too if you have no left overs). As the turkey and chestnuts were warmed through in the sauté pan, a tablespoon of cornflour was stirred into some cold turkey stock. (This was made from the bones of the turkey on this occasion but a stock cube or a ‘stock pot’ would work). The stock/cornflour mix was then stirred into the pan and was kept gently moving until it began to thicken at which point the nearly cooked chilled pasta was added to the mix.
 Some breadcrumbs were added, followed immediately by the torn or sliced mozzarella. Then for a crispy top, more breadcrumbs and the parmesan.

 The 3 carcasses and the wing tips were used to make the sauce (rather than the prime pieces as in the original recipe).
 The shallots, garlic and lardon were sautéed until they began to take on a little colour. At this point the mushrooms were added and fried for a few minutes longer. Everything was then transferred to a separate bowl.
 The chicken carcasses were cut into smaller pieces and dusted with seasoned flour. The remaining oil was transferred to the pan and the chicken was browned.
 The pan was brought to a simmer and cooked for around 20 minutes without a lid. The liquid was separated off by passing through a colander set over a bowl. The chicken carcasses were discarded and the lardon and vegetables were kept warm. The strained liquid was returned to the pan and reduced a little.
  The pan was then removed from the heat. The cream, egg yolk and a ladle of the reduced cooking liquid was mixed together and then poured back into the pan with the stock. The pan was then gently heated without boiling and stirred constantly until the sauce thickened. This may take 15 minutes, don’t rush it! The sauce needs to thicken to the point, so that when hot it just coats the back of a spoon. All the other ingredients (except the chicken) were added back into the sauce.
  The sauce was then portioned into 3 double portions and vac-packed for later.
 At this point they should be added to the warmed sauce (temperature around 85C) and left to hold the temperature for 2-3 mins or so. My favourite way however is to sauté the chicken pieces in a cast iron or heavy pan/plancha on the Big Green Egg (

 Mushrooms followed and they were cooked for another 5 minutes before the garlic was then added and cooked through for another minute or so.
 Time to deglaze the pan, adding the wine, then cooking off the alcohol and reducing the volume a little. 200ml of concentrated chicken stock was then added followed by a handful of peas (and on this occasion some finely chopped kale). This was cooked for 2-3 minutes before taking the pan off the heat.
 Once off the heat we stired in the creme fraiche and the parmesan and kept the pan warm whilst cooking the pasta. When the pasta was almost ready we put the sauce back on a gentle heat and added the pasta to the sauce with a little of the pasta water and completed the last minute of the pasta cooking as we tossed it in the sauce.


 A second pan was put in the MiniMax to heat up. The remaining butter and a similar volume of olive oil was added to the pan with the anchovy fillets. The anchovies quickly become a mush which thickens the oil.
  This is just the time to add the garlic and the pepper strips. The original recipe uses yellow peppers – but we had red ones, and I think they look great! They were seasoned with pepper, but not salt as the anchovies were already salty. The peppers were cooked for around 5 minutes then the vinegar was added and stirred through. They were then cooked for a further 10 minutes until they softened a little, stirring regularly.
 The pepper mixture was added to the casserole with the rabbit and the casserole was returned to the BGE. The air vents were shut back to allow the temperature to fall a little. The dish was cooked for another 30 minutes turning the pieces 2 or three times in this period. (You could probably reduce this to around 20 minutes with a farmed rabbit).


Recent Comments