
Individual Venison Pies
Pies certainly have a very long culinary history. The first written reference to the word pie appears in 1301 (1). There remains some slight controversy of what constitutes a pie. Pastry all round or is a pastry top enough to qualify?. The Oxford English Dictionary defines a pie as: a baked dish of fruit , meat, fish or vegetables, covered with pastry (or a similar substance) and frequently also having a base and sides of pastry (2). So I think we are safe to assume a pastry top qualifies, especially if it is not one of those ‘precooked’ lids that is popped onto a casserole in a pot in too many pubs!!
This is a recipe from Chef Tom Kerridge who still has the only pub in the UK with two Michelin stars. This is a very fine recipe (3). The only substantial modifications we made was to cook the filling over charcoal in the Big Green Egg, with a little chestnut smoke. We also replaced the suet top with a puff pastry one (as we had some to hand).
I liked that the recipe used a weighed amount of flour to toss the meat in before cooking. Any excess was used later as a general thickener for the sauce, so nothing left to chance! The flour was seasoned with salt and pepper. The cubed venison was tossed in the flour then seared in a handleless pan cooked over direct heat on the BGE.
 The meat was browned on all sides and then set aside. It is important not to crowd the pan and so this was done about a third at a time. The remaining flour was reserved.
The shallots were diced as was the carrot and celery. The carrots were cut into approximately half centimetre cubes (larger than for a soffrito) and the celery cut to a similar size. The garlic was finely chopped.
After the last of the venison was set aside we added a further slurp of the oil. The shallots and carrots were added to the pan and cooked for around 5 minutes.
 The celery and garlic were then added and cooked for a further 4 minutes until lightly coloured. At this stage we were building flavours and so the tomato purée was stirred through and left to cook for 2 minutes before adding the crushed juniper berries. Finally the flour that had been left in the bowl from coating the venison was added and stirred for a couple of minutes before pouring in the wine to bring it up to a simmer. This was then cooked to reduce the volume by half and evaporate the alcohol. This mix was then transferred to the Dutch oven together with the venison. The stock was used to deglaze the original pan and the stock too was transferred to the Dutch oven. The herbs were tied together with a piece of string and also dropped in.
The Big Green Egg was then reset for indirect cooking by adding the platesetter and the temperature was reduced to around 130C. The casserole was reintroduced without the lid and cooked gently for around 3hrs until the venison was meltingly tender.
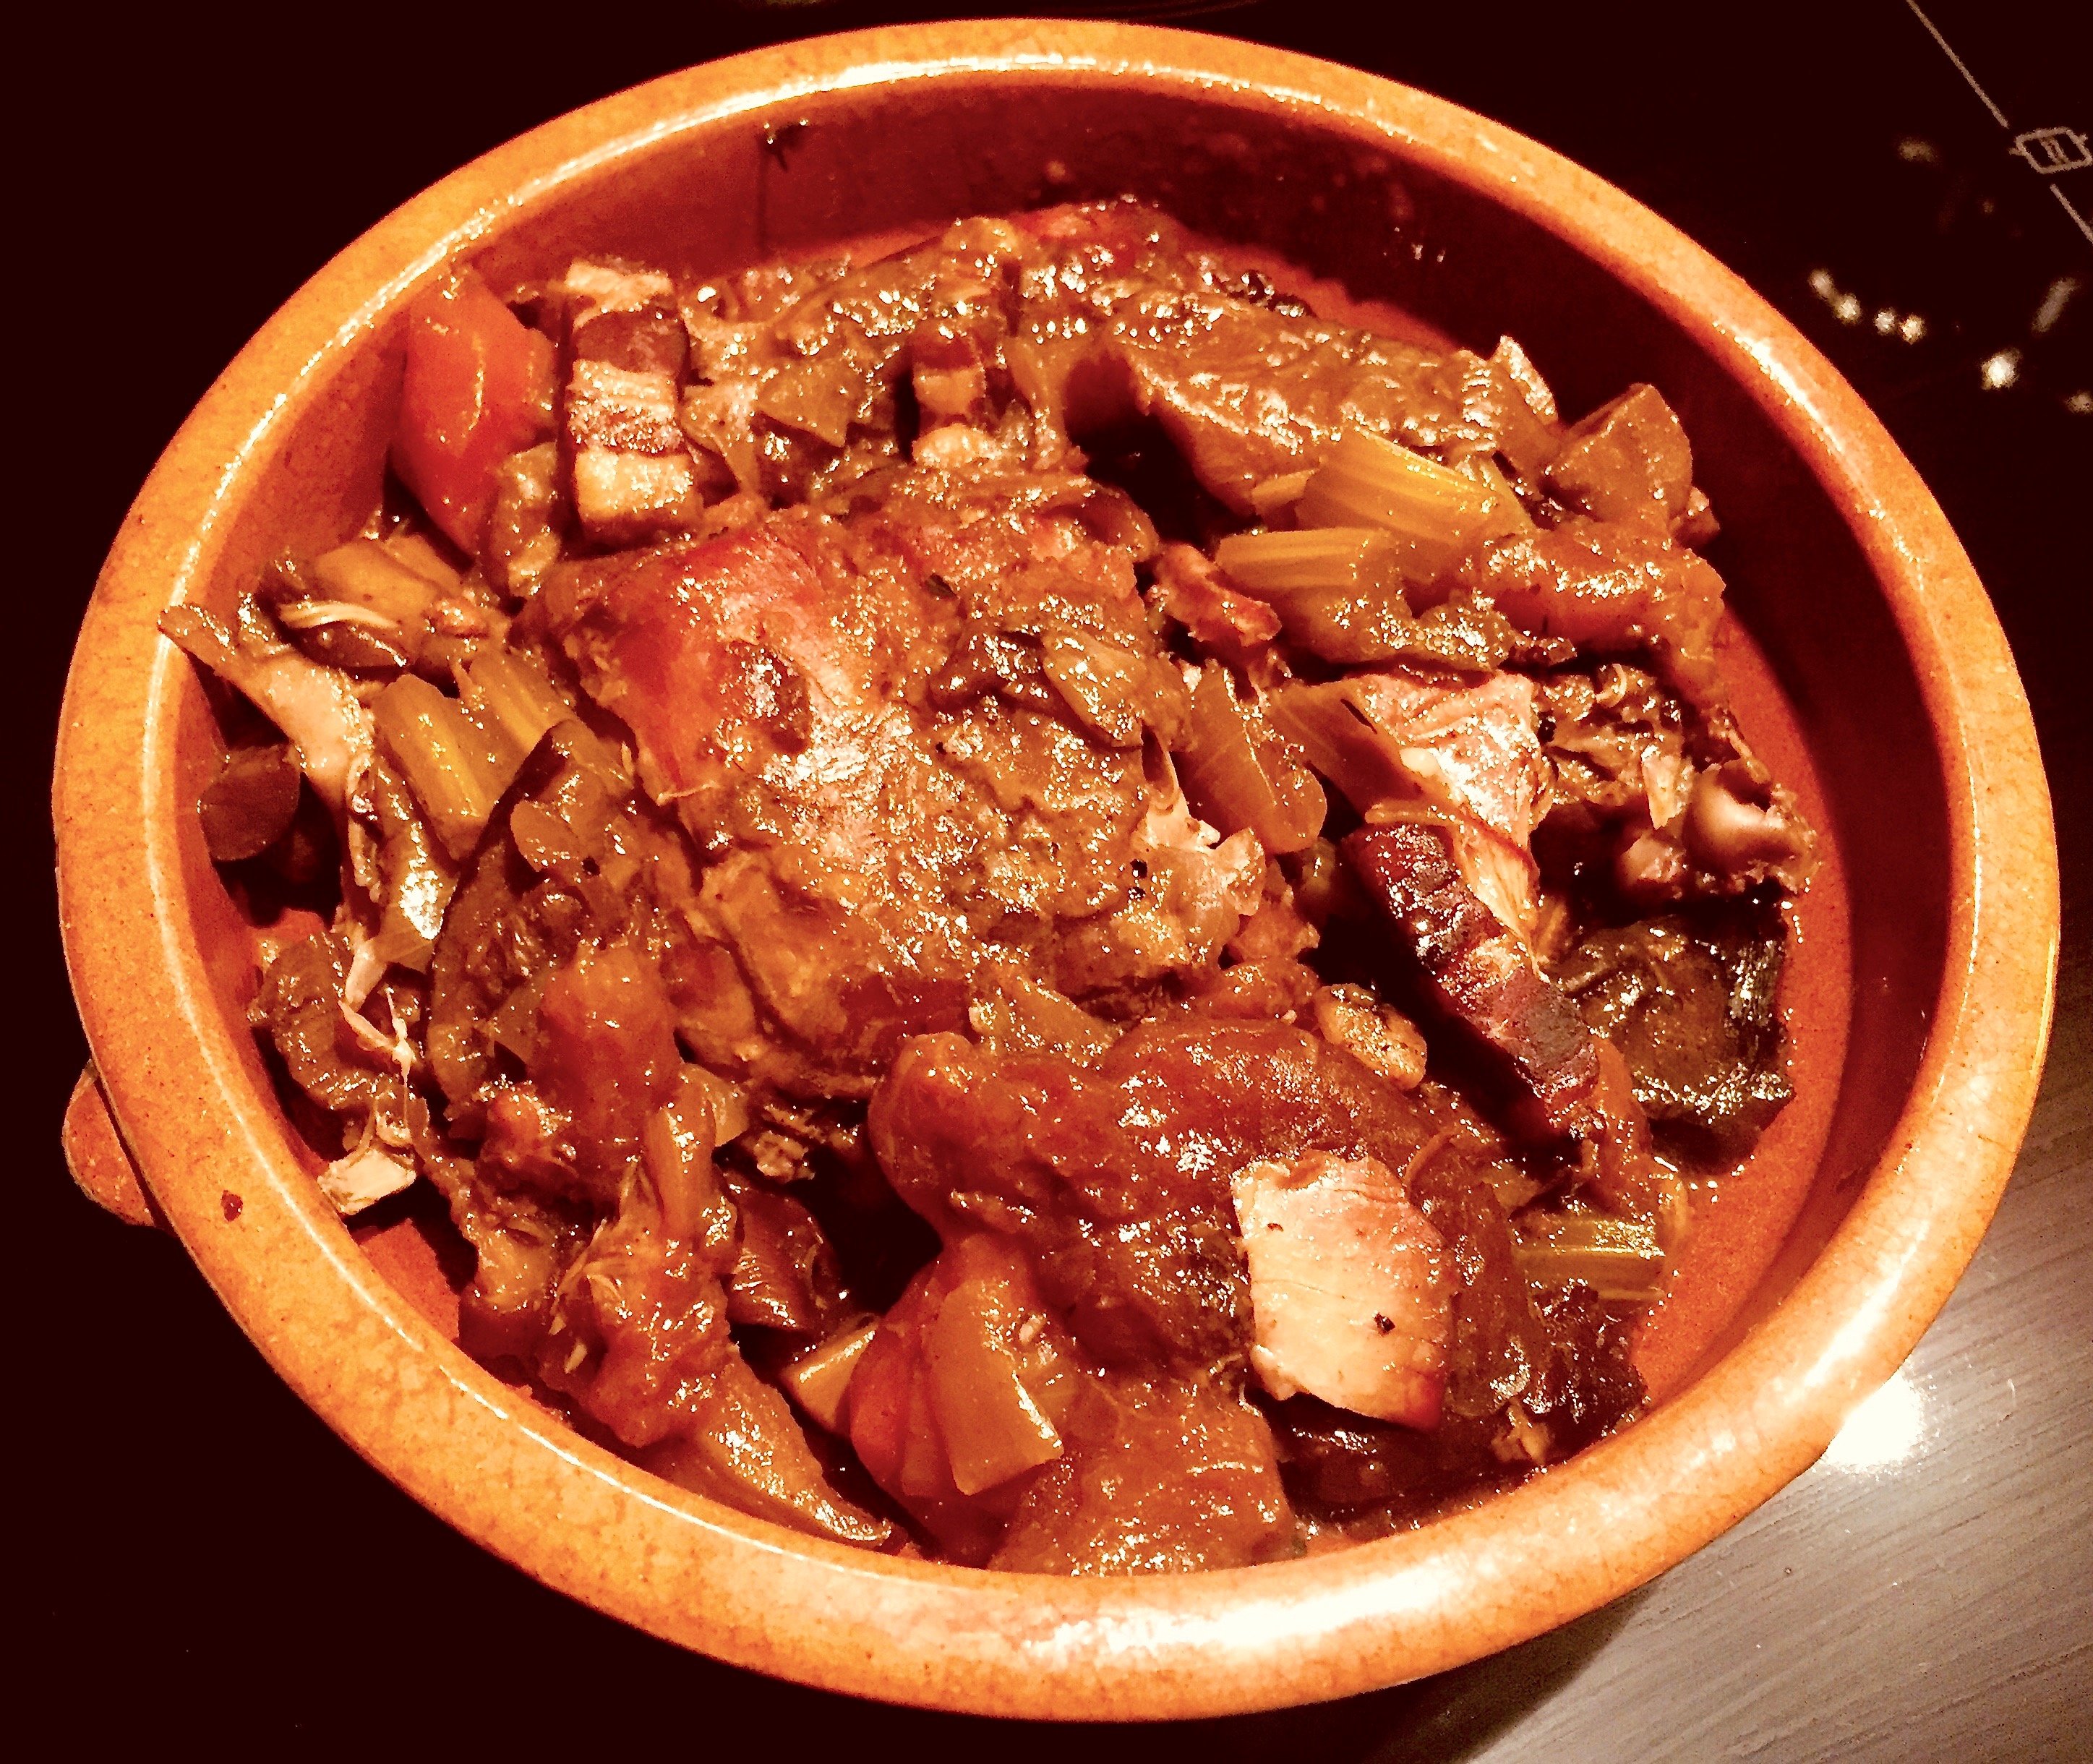
At this point the herbs were removed and the prunes, chestnuts and parsley were added and stirred through the mix.
The casserole was divided into 4 pie dishes filling almost to the top. These were placed on a tray and set aside to cool before putting into the fridge to really chill down (they were going to be used on the following day).
 The Kerridge recipe then went on to make suet pastry, which is lovely. As we had some left over puff pastry that I had made for another cook we decided to use that. The edge of the pie dish was egg washed and circles of pastry put on top to carefully seal the pie dish. Bits of excess pastry were then removed from round the edge of the dish allowing around 1cm to be stuck to the side of the dish.
 To finish some pastry leaves were shaped from the pastry offcuts. These were popped on the top and then the whole pastry top was egg washed. Finally a little salt was sprinkled on the top. We elected not to put a steam hole into the lid (which would normally be done) and this didn’t seem to cause any problem at all.
When ready to cook they were put into an oven at around 180C for around 30-40 mins until the pie mix was well up to temperature (above 74C) and the top was a lovely golden colour.
 They were left to rest for 3-4 mins before serving. It is probably easier to control the browning of the pastry in a domestic oven – but that or the Big Green Egg will both do the job well!!
We served them with triple cooked chips and broccoli which worked really well but there are so many potential options! You can see from the last picture that the pastry was lovely and flaky and the pies were really well filled!
……………………… all in all a really rewarding outcome!!
References
(1) A man who makes pies for sale; a pie seller (1301). Rogero Pieman in W Brown, Yorkshire Lay Subsidy (1894) 87 (Middle English Dictionary).
(2) OED 2/3/2024 https://www.oed.com Search term = pie
(3) https://foodnetwork.co.uk/recipes/tom-kerridges-individual-venison-pies
Individual Venison pies
Soft and succulent casseroled venison with prunes and chestnuts in a perfect pie
Ingredients
- 1kg venison shoulder, cut into 2.5cm cubes
- 50g plain flour
- Salt and freshly ground black pepper
- 4 tbsp light olive oil
- 3 banana shallots, diced
- 2 carrots, peeled and finely diced
- 2 sticks of celery diced
- 2 garlic cloves crushed and chopped (optional)
- 1 tbsp tomato puree
- 300ml red wine
- 2 sprigs rosemary
- 4 sprigs thyme
- 2 bay leaves
- 10 juniper berries, roughly chopped or crushed
- 5000ml beef (or chicken) stock
- 10 pitted prunes, halved
- 12 cooked chestnuts, halved
- 2 tbsp flat leaf parsley, finely chopped
- For the Pastry:
- one pack of rolled puff pastry
- 1 free-range egg, lightly beaten but kept separate
Directions
- Step 1 Pour the flour into a large bowl season with salt and pepper and then add the venison cubes. Coat the pieces well. Place a large casserole or frying pan over medium direct heat on the BGG or on a conventional hob. Add one table spoon of the oil and then a third of the venison. Brown evenly on all sides and then remove and reserve. Repeat with the rest of the venison. Reserve any flour left in the bowl.
- Step 2 Add the remaining tablespoon of oil to the pan and when hot, add the shallots and carrots. Cook for 4-5 minutes then add the celery and garlic, cooking for a further 4 minutes until everything has softened.
- Step 3 Stir through the tomato purée and let it cook for another 2 minutes or so and then add the juniper berries.Add any flour left in the bowl and stir. Pour in the wine and bring up to a simmer then cook until the mixture reduces by half. Transfer to a Dutch oven and add the venison back too. Use the stock to deglaze the first pan and add this to the Dutch oven. Tie the herbs together and drop them into the casserole
- Step 4 Convert the BGE to indirect cooking and add a little cherry wood if required. Add the dutch oven uncovered and cook at around 130-140C. (if cooking on a hob or a conventional oven add the lid), then cover with a lid.
- Step 5 Cook gently for around two and a half hours until the meat is tender. Remove the herbs, and add the prunes, chestnuts and parsley to the venison stew and gently mix. Close down the vents and allow to cook for a further 30 mins before cooling
- Step 6 Divide the casserole into four individual pie dishes, filling the dishes almost to the top. Place the filled dishes on a baking tray and set aside to cool (ideally in the fridge overnight)
- Step 7 Cut out lids from the puff pastry allowing around 1cm overlap of the dish. Brush the edge of each dish with the beaten egg and then put on the pastry lid and firmly secure around the edge of the dishes. Decorate if required with pastry offcuts. Trim any excess if you need to. Brush the top of each pie with more beaten egg and finally sprinkle with a little salt. We elected not to put a steam hole in our tops before cooking (but the original recipe suggested cutting a small hole into each pie to allow steam to be released during cooking).
- Step 8 Place the pies into the oven and cook for 45-50 minutes or until a deep golden brown.
- Step 9 Serve with contrasting vegetables


 The first thing to do was unroll the piece so that we could add additional flavours to the inside of the joint. The roll had been made up from 2 separate pieces, again illustrating the versatility of this cut.
  This was followed by the dried oregano, lemon zest and anchovies. The ingredients for the dish gave it a very Provençal feel. From our experience chilli is not used to any great extent in Provence and so we omitted the chilli flakes that were suggested in the original recipe.
 We did the first part of the cook in one of our handless Tefal pans. This could be done directly on the BGE or on a conventional hob. The pan was heated and some olive oil added. The lamb was then rolled around the pan until it took on some good colours all over. As the outer layer shrinks a little as it cooks, the inside seems to squeeze out of the middle as in the picture. Don’t worry about this as it will largely correct itself in the second part of the cook. Whilst the meat browned, the onions were cut into large chunks (as it was going to be a slow cook and we don’t want them to disappear into the cooking sauce).
  The meat was set aside, a little more oil was added, and the onion put straight into the same pan to fry with the partially crushed garlic. The capers were then popped in with the onions and cooked through, followed by a little more lemon zest. The pan was then deglazed with white wine and a good squeeze of lemon juice. The final addition was the tinned tomatoes which were gently crushed and stirred into the mix. The rolled lamb was then placed on top and we were ready to go.
 We were cooking in the Big Green Egg which had been set up for indirect cooking at around 140C. Cooking in the EGG this way we usually leave the dish uncovered. Very occasionally the liquid may need to be topped up a little with some water.
 When the core was around 90C the meat was removed and allowed to rest prior to carving. At this point the final consistency of the sauce can be checked.
 When ready to serve, carefully remove the bands or butchers string and carve into generous slices. These can be served directly on the sauce. We also added some French beans from the garden – well it is a Provençal dish!!


 Once the EGG was up to temperature we added the fresh mushrooms to a dry sauté pan and began to toast them until they took on a little colour and then finished them in a little olive oil and set them to oneside for later. We did the same with the dehydrated mushrooms and set those aside but kept them separate. Save the mushroom liquor.
 We added the tomato puree to the partially cooked vegetables. They were then tumbled so that all vegetables were coated with the puree. This was then left to cook for another 5 minutes or so. Once at temperature the tomato puree undergoes a Maillard reaction (the same as meat does when roasted) adding to the overall intensity of the tastes.
  The browned venison was then added followed by
 By this time the steady temperature of the BGE was at around 140C and so the Bourguignon could be left to cook for the next hour. We could then see how the meat and the vegetables were cooking. It needs to be long enough for the venison to be soft and tender whilst the vegetables still have a good and reasonably firm texture. We left it cooking for another 30 minutes, adjusted the seasoning and added the rest of the mushrooms the had been previously set aside.
 By this time the sauce had darkened and thickened but we still finished it by thickening with a very small amount of cornflour (about 1tsp).


 We used the expander system so the pork could sit on the top layer and drip quietly into a roasting pan on the second layer away from the hot platesetter.
  For the first hour the meat was placed with the skin up and then the pork was turned over with the skin down for the rest of the slow cook. It would take around 6-8 hours for the pork to reach an internal temperature of 90+C. We took the belly pork off at this stage.
 Once the meat is back up to a suitable core temp (above 70C) add some top grill heat to your oven. This crisps the skin very quickly – so don’t let it burn (yes we have learnt the hard way!).


Recent Comments